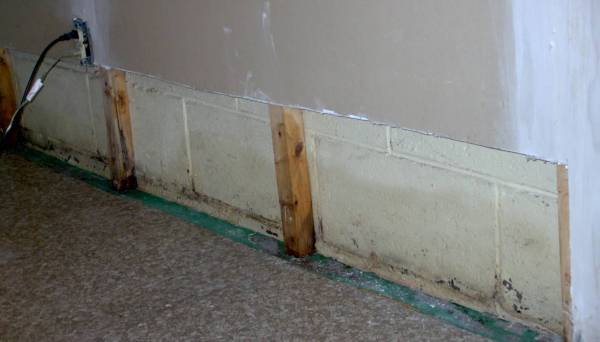
| Several of the 2 by 2 studs were a bit
compromised so I attached some 2 by 2's next to the compromised studs.
I used a concrete screw that looked like a blue drywall screw.
All I had to do was drill the proper sized hole with a masonry bit and
then screw in the stud. |

Click On Photo To Enlarge |
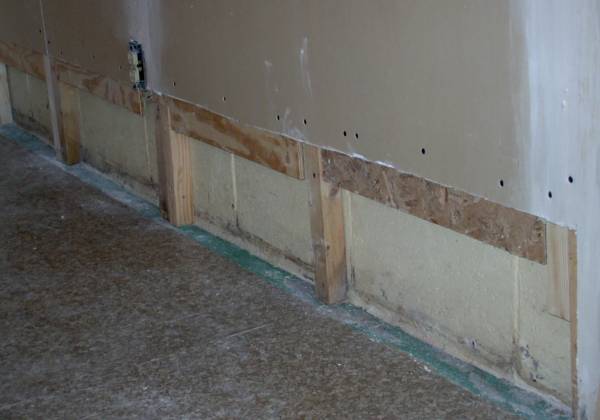
| I placed plywood backing behind the
horizontal edge and attached to the existing edge. This provides
a solid horizontal surface for the patch piece to attach onto. Without
the backing, I think the horizontal joint would give way, even after
being taped. In retrospect, I wish I would have added some horizontal
studs along the floor. |
Click On Photo To Enlarge |
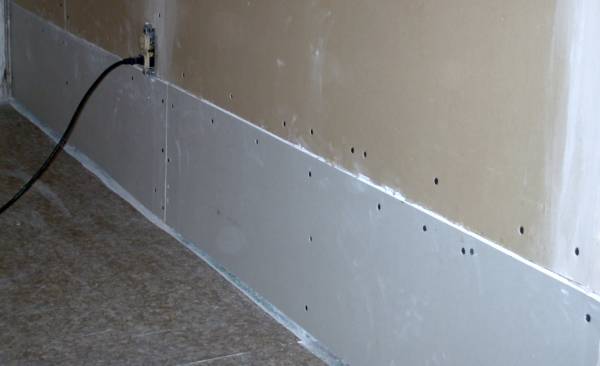
| Attach the patch piece or pieces onto the
studs and horizontal backing. Leave about 1/4" of space between the
floor and the drywall so water will not be wicked up by the drywall in
case of a spill or flooding. |
Click On Photo To Enlarge |
| Tape and finish the joint. Here is
a picture of the finished wall. You will have to use the
Taping Butt Joint Procedure. |

Click On Photo To Enlarge |